So you bought a DSLR
 A lot of people think that great photos come from a good camera. This is certainly true to a point, but if you have no idea how to use it, you might as well have bought something at half the price. Photography is a huge subject that you can spend a lifetime studying but I’m going to give you a few tips here to improve your shots quickly and relatively easily.
 Turn off the ‘Auto’ mode and learn what everything does
You can leave your camera in auto mode the whole time and it will take a photo that is correctly exposed. The thing is, if this is all you ever use, you might as well have bought a compact for half the price and a third of the size.
Great photos happen when you make decisions about what you want from them. This can only happen if you know what everything does. A pro will leave the camera in fully manual mode almost all the time so they are controlling everything the camera does. You don’t need to jump straight into the deep end, there are in between modes to start you off and get you used to what everything does.
I know this can confuse people so I will try to make this as simple as possible. Taking a photo relies on 4 separate variables, Shutter speed – how long the shutter is open for, Aperture – how wide the shutter opens, ISO – the speed at which the photo will expose and white balance – what the camera sees as white. I will explain these in order of importance. Well they are all important but you should try to get your head around them in this order for fastest results.
Shutter Speed – How long the shutter stays open
 This is the easiest to get your head around. It is simply the amount of time the shutter stays open for, the longer the shutter is open, the more light will hit the sensor.
The thing is, the longer you leave the shutter open, the more movement you will capture in your photo. You might be going for this, movement can be nice and there are loads of lovely long exposure images out there, but you need a steady hand or a tripod.
For crisp images use a short shutter speed. In theory the slowest it is possible to get a crisp image handheld is 1/6th of a second. Image stabilisation will help though.
But what if it is too dark to use a short shutter speed? You need to find a way of introducing more light to the sensor by either opening your aperture wider, turning up your ISO or using a flash to provide more light.
To get your head around what shutter speed does, try setting your camera to shutter priority mode – ‘Tv’ on Canon or ‘S’ on Nikon – this will change the aperture for you so you correctly expose for the shutter speed.
Aperture – How wide the shutter opens
The wider the shutter opens, the more light it lets in. This means you can turn down shutter speed or ISO or both.
 The numbers for aperture are a bit confusing to start with. Don’t worry too much about them for now, just remember that the lower the number, the wider the shutter (bigger hole = more light). So high number = small hole, small number = large hole.
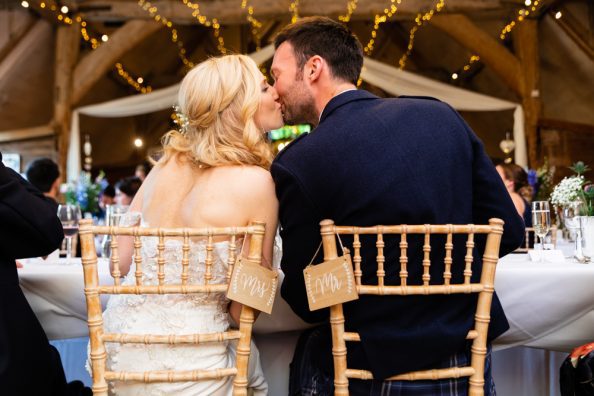
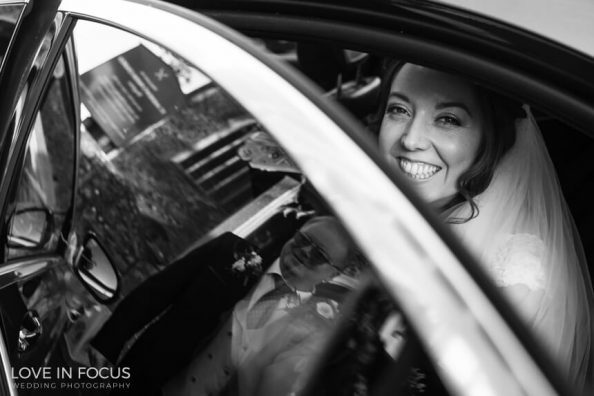
The thing to remember with aperture though is, the size of the hole will affect the depth of field (DoF). The depth of field is how much of the photo is in focus. A large aperture (big hole, small number) will give a small DoF which is nice for portraits and isolating objects against a background (see photo). A small aperture (small hole, big number) will give a large DoF meaning more is in focus which is nice for landscapes or capturing a large crowd in focus.
Just like shutter speed, you can get to grips with aperture by having a play with aperture priority mode – ‘Av’ on Canon, ‘A’ on Nikon.
 ISO – How fast the image exposes
ISO used to be what you measured the speed of film in. The higher the number the faster the chemicals on film would expose and the less time you had to have the shutter open for (or the smaller you could have the aperture hole). Now we are all using digital this still exists it just isn’t anything to do with chemicals anymore.
A higher number means the image will expose faster, so when you are working in low light, turn up your ISO.
But if a high ISO means you can take pictures with a shorter shutter speed to get nice, crisp photos then why not leave it set high all the time? Well, the higher the ISO, the more noise and grain you will get in your images. Newer cameras are better than old but it is still a consideration to pay attention to. Leave you ISO set to 100 unless you need to change it, your photos will look better for it.
White Balance
This is probably the thing you will have to worry about the least for now. Leaving this on auto is usually fine to start with, you just need to know what it does so you can use it later.
All light has a colour, outdoors in the sun the light is relatively blue where as inside under a lamp the light is pretty yellow. The white balance tells the camera what colour it should consider white and then sets all the other colours from that base point.
You can manually set the white balance by pointing the camera at something white and then telling it to consider that white, or you could tell it where you are, most cameras have several settings for different types of light. Auto does a pretty good job though.
Don’t use the on camera flash, or at least bounce it off something
 In auto mode in the evening your flash is bound to pop up and start flashing away trying to meter how much light it needs to expose the photo. This is bad for 2 reasons:
1. Everything looks flat and rubbish
Flash light that comes from right next to the lens is incredibly unflattering. It makes everything look flat and get rid of what could be nice flattering shadows.
2. It is incredibly distracting.
There is nothing less subtle than a flash going off. Stick it in someones face and the metering and anti-red eye will blind them. You will never get a natural picture this way.
So what do you do? Well if you are using the camera in some form of manual mode you could compensate for the lack of light by increasing the ISO, the aperture size (low number, remember?) or the shutter speed.
OR
You could use some more flattering light.
An external flash is the best for this but you can get pretty good results by bouncing the on camera flash off the ceiling. You can buy bounces for most cameras pretty cheap or you could just use a piece of paper. Stick it just in front of the flash at about a 45 degree angle so the light bounces up to the ceiling. It will bounce down on your subject in a much more flattering way.
So there you have it, there is obviously a whole lot more to learn about photography but this should get you started and playing with the settings in a way that will teach you what is actually going on.
If you found this helpful, please share it with your friends, they might like it too! Just click the buttons below 🙂


